
Erika’s Some-Nonsense Black Walnut Ink Recipe

This is the recipe I use to make dark black walnut ink. I use this ink for my ink-wash paintings, but it also works well with dip pens. The ink has a warm earthy tone that is lovely to use with other inks or watercolors. Like many natural inks, black walnut ink can be lifted with water, similar to watercolor paint. Though it works well for calligraphy, be aware that the ink can lift if it comes in contact with water. I should mention, I do not recommend this ink for fountain pens or expensive tips as it can clog or corrode your pen. I like using glass or calligraphy dip pens with natural inks for this reason.
If you would like to skip ahead to the recipe, here is a link to do so. I often don’t feel like reading novels when looking for recipes either. However, you may want to check back for some useful tips after reviewing the recipe. Have fun ink-making!
Click here to skip to the recipe.
Gathering Walnut Husks

Ready for making ink. Don’t wait until they’re moldy!
The black walnut tree, not to be confused with the English walnut tree, is native to North America and grows in the central and eastern United States. It fruits from September to October with nuts housed inside a juicy green husk. They have a wonderful spicy-fresh scent, almost piney. The husks fall to the ground after the leaves drop in autumn. They turn a blackish-brown color, which is good for ink-making when they’re in this state. Green husks can be harvested from the tree to prevent an infestation with worms or bugs. Just put them in a pot and wait for them to turn blackish before using them. Don’t wait too long or they will grow moldy. Use gloves and protect your clothes to prevent staining.
Note: Do not leave the pot outside without a lid; squirrels will heist your stash!
Utensils and Tools

I use a wooden spoon that is not used for cooking food
It’s best to use a non-reactive pot, like an enameled stock pot, as metals can react with the ink and give unexpected results. I used a stainless steel pot, which works well. However, old stainless steel pots can still potentially oxidize over time. I also recommend non-metal measuring utensils, funnels, and spoons. You could use a cast iron pot, but be aware that iron can make the ink a darker, cooler tone similar to Van Dyke Brown. If you want a warmer, lighter brown ink, do not use a metal pot that contains iron, and don’t add the ferrous iron.

With Ferrous Iron- left vs. without Ferrous Iron- right.
Ferrous iron can be added if you want a darker brown color. It’s still warmer than black India ink, however. I tend to like this tone for ink-wash paintings and pen work. Ferrous iron can be bought in powder form from any textile art supply store that sells dyes. You could also experiment with rusty nails, old cast iron pots, or anything else that has iron. I’ve even ground up old iron pill supplements I had in my medicine cabinet, but that required a lot of filtering, FYI.
Best Practices & Tips before starting
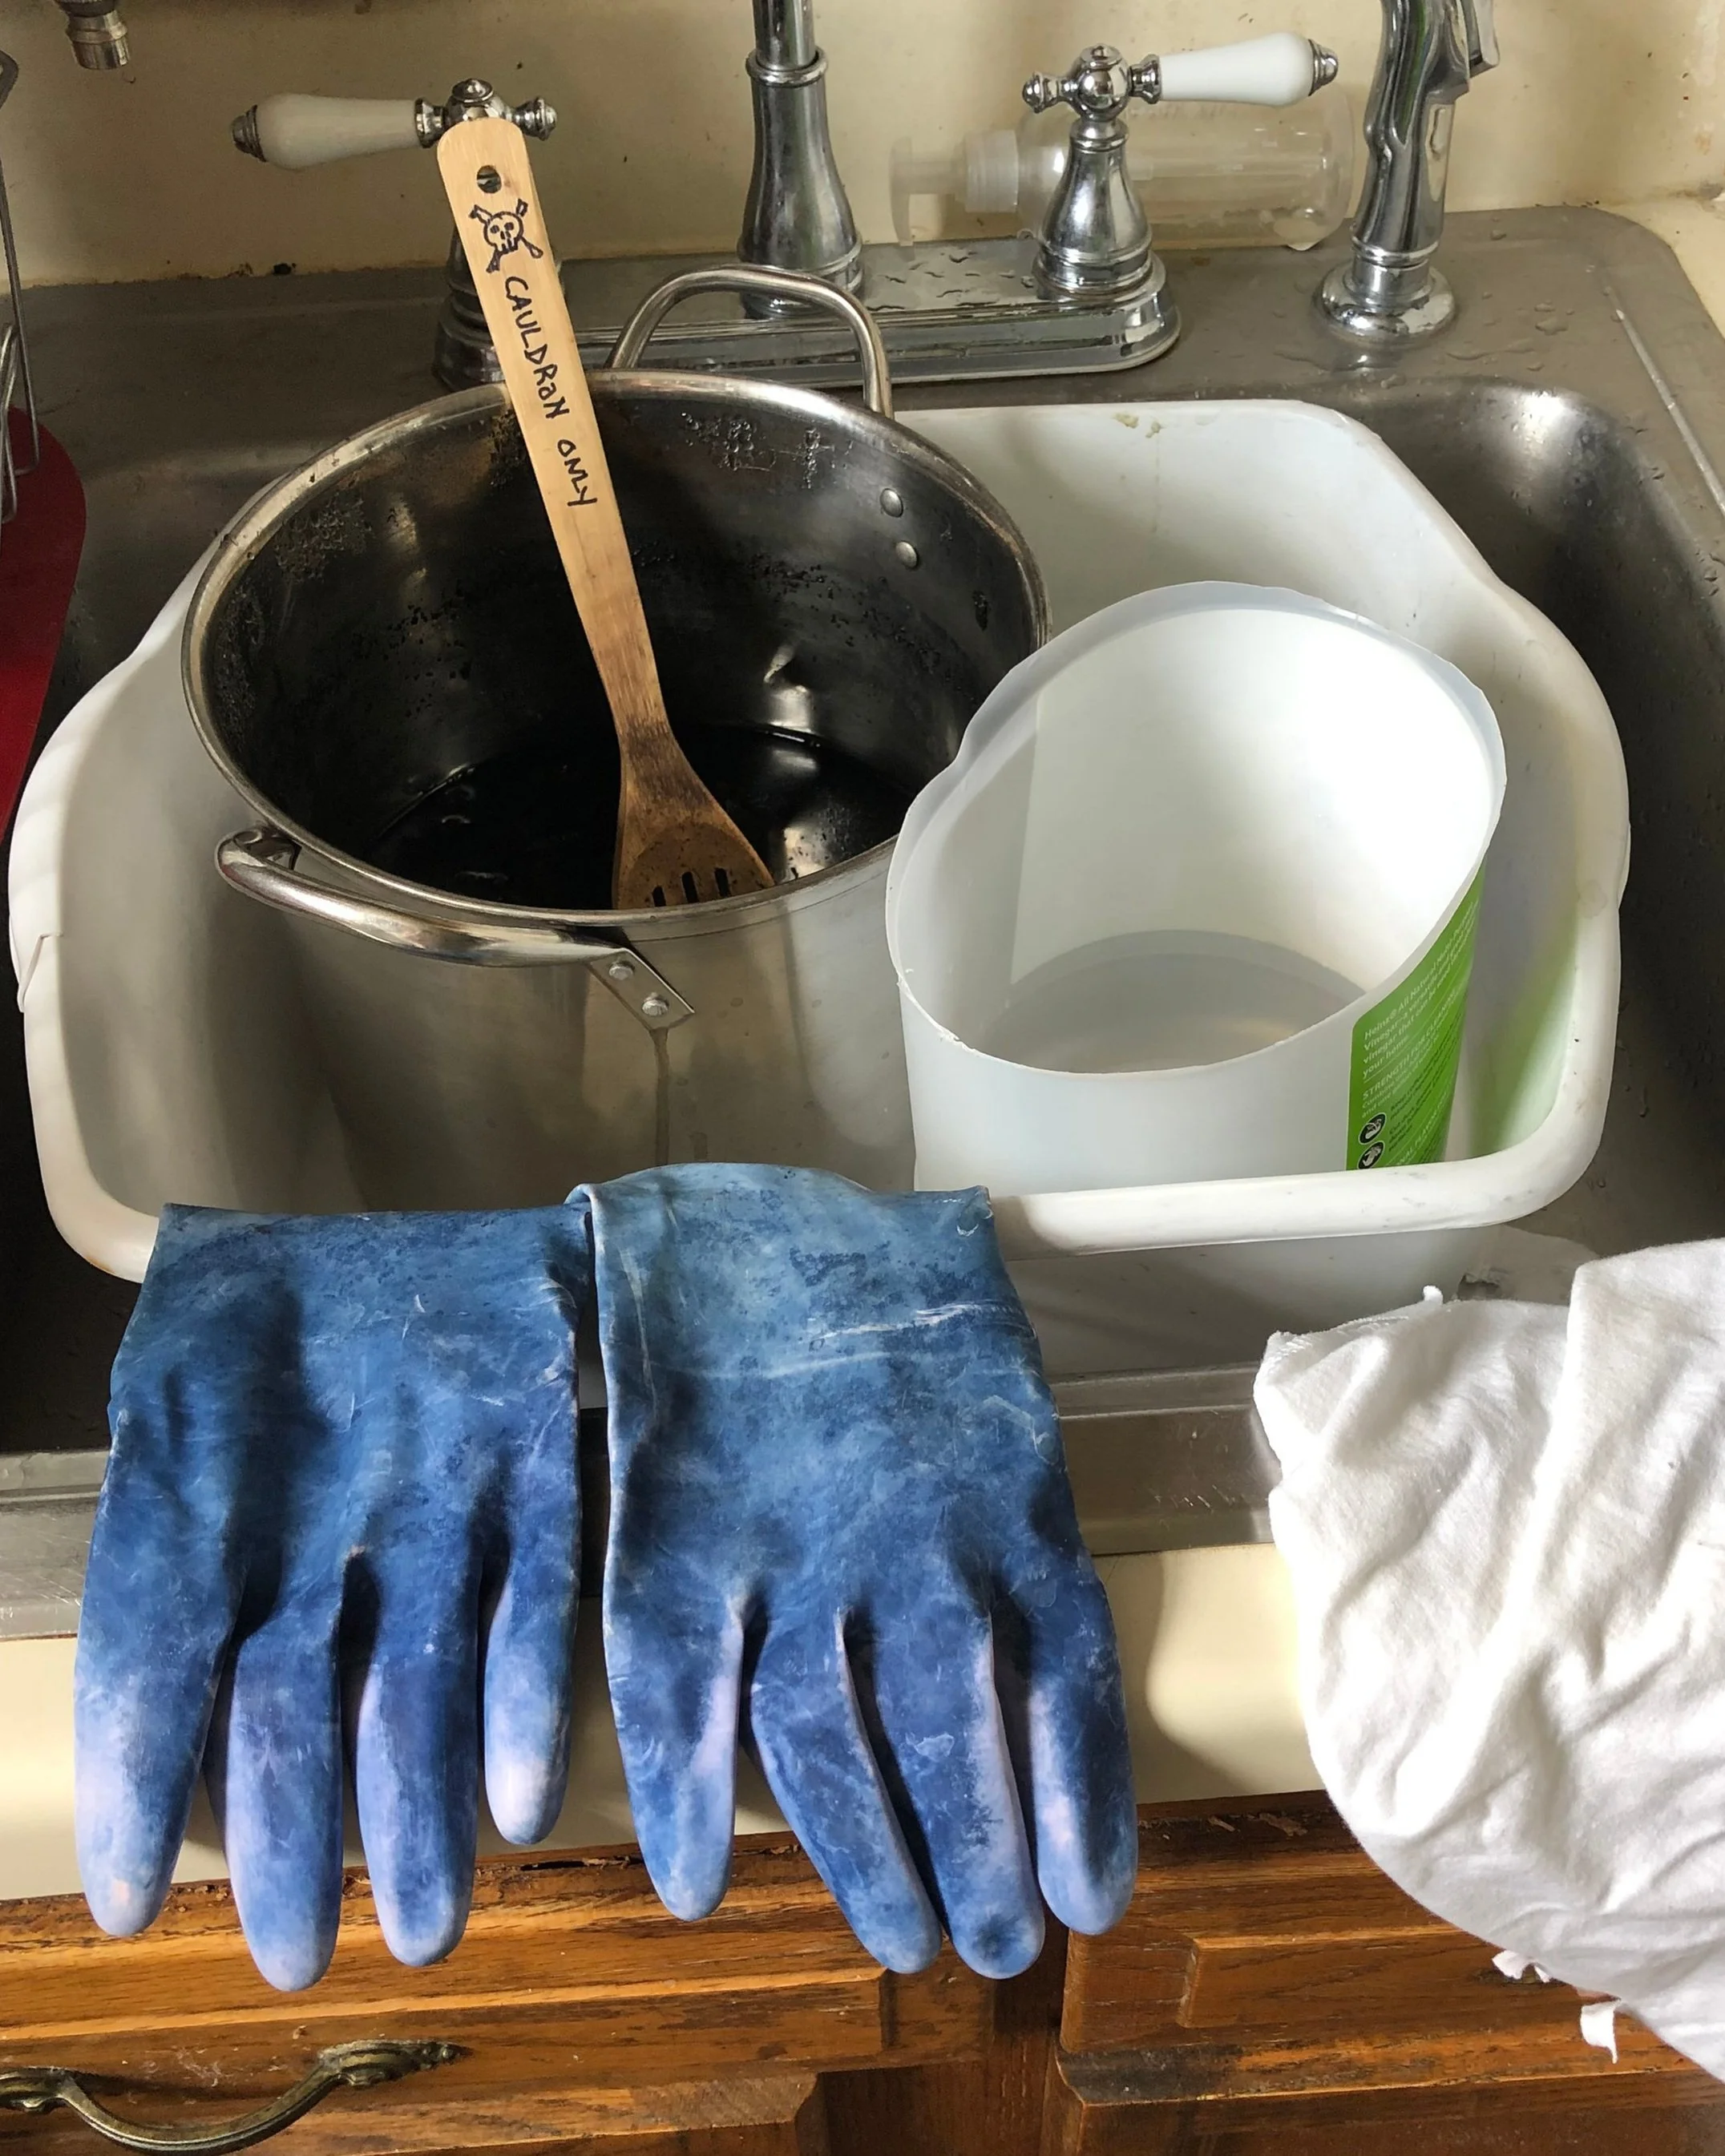
My Tools & Utensils
I keep my ink-making utensils separate from food utensils and label them. Can you tell that I used these gloves for indigo projects?
Don’t use any pots, jars, or utensils you would use for cooking food afterward. I sometimes find old pots and utensils from a dollar store or thrift shop and dedicate those to ink projects only. I also recommend wearing latex or dish gloves to prevent your hands from becoming stained. This is not toxic if it gets on your skin, but it may take a few days for the stains to wash off. Do this project in a well-ventilated area. Also, and most obviously, do not partake in this project if you or anyone nearby is allergic to walnuts.
My Black Walnut Ink Recipe
Ingredients:
Black Walnut Husks
2 cups of distilled water for every 12 walnuts
Whole Cloves
Ferrous Iron (optional)
Isopropyl Alcohol (optional)
Gum Arabic (optional)
Tools:
1 non-reactive stock pot
Gloves (latex or dish gloves will do)
Cheesecloth or an old t-shirt for straining
Coffee filters
1 funnel
1 large non-metal bowl or pail for straining into.
1 large glass jar for storage (like a large mason jar)
Paper test strips (like watercolor paper)
1 stirring utensil (like a large wooden or plastic spoon)
1 wooden stick for measuring (like a chopstick or skewer)

Place husks in a non-reactive stock pot. Fill it with 2 cups of water for every 12 walnuts. I have 70 walnuts in this pot.
Simmer covered on low for 6-8 hours. Add a little more water if the level gets too low. This can be done inside if the area is well-ventilated and you can tolerate the smell. It’s not unpleasant, but it has a pungent piney, nutty smell. Next, turn off the heat and let it sit overnight in a covered pot.

The next day, remove the nuts from the husks. The husks should be soft enough to peel by hand. I know… I have metal tongs here in this shot. I now have plastic tongs.
Discard the nuts and retain the husks, this is what will make the ink. Don’t forget to wear gloves when handling. Discard the hard shells found in the center of the husks, but keep the softened husks found on the outside.

Put the softened husks back into the ink water and bring them up to a boil again. Then simmer uncovered on low for a couple more hours to reduce the liquid by 1/2.
I use a wooden chopstick to test the level. Dip the chopstick all the way in and measure the liquid level. You can mark the level with a sharpie.

Occasionally use your “dipstick” to check the ink level. When it’s reduced by 1/2, turn off the heat. Let the husk-liquid cool overnight in a covered pot once again.
*Note: if you would like a darker cooler brown, add the ferrous iron at this stage after reducing. You should wear a mask if using the powdered form to prevent inhaling the powder. Start with about 2 tablespoons (depending on your yield) and test the tone with a paper strip. Add more until you achieve your desired tone.

I cut strips of watercolor paper to use as test strips. I added the iron after the liquid reduced. Once I liked the tone, I let it sit overnight in a covered pot.
Good morning, almost there! Next, use a cheesecloth or an old t-shirt to strain the liquid from the husks. Squeeze as much liquid as you can from the solids.

Here I’m using an old t-shirt to squeeze the liquid from the solids. Keep as much liquid as you can, this is your ink! You could keep the used husks for another dying project if you’re so inclined.
To refine the ink, strain again through a coffee filter into a clean sterile jar. If the ink is still gritty, you can strain it again. I don’t mind a little grit, but the more you strain the particles out, the cleaner the ink.
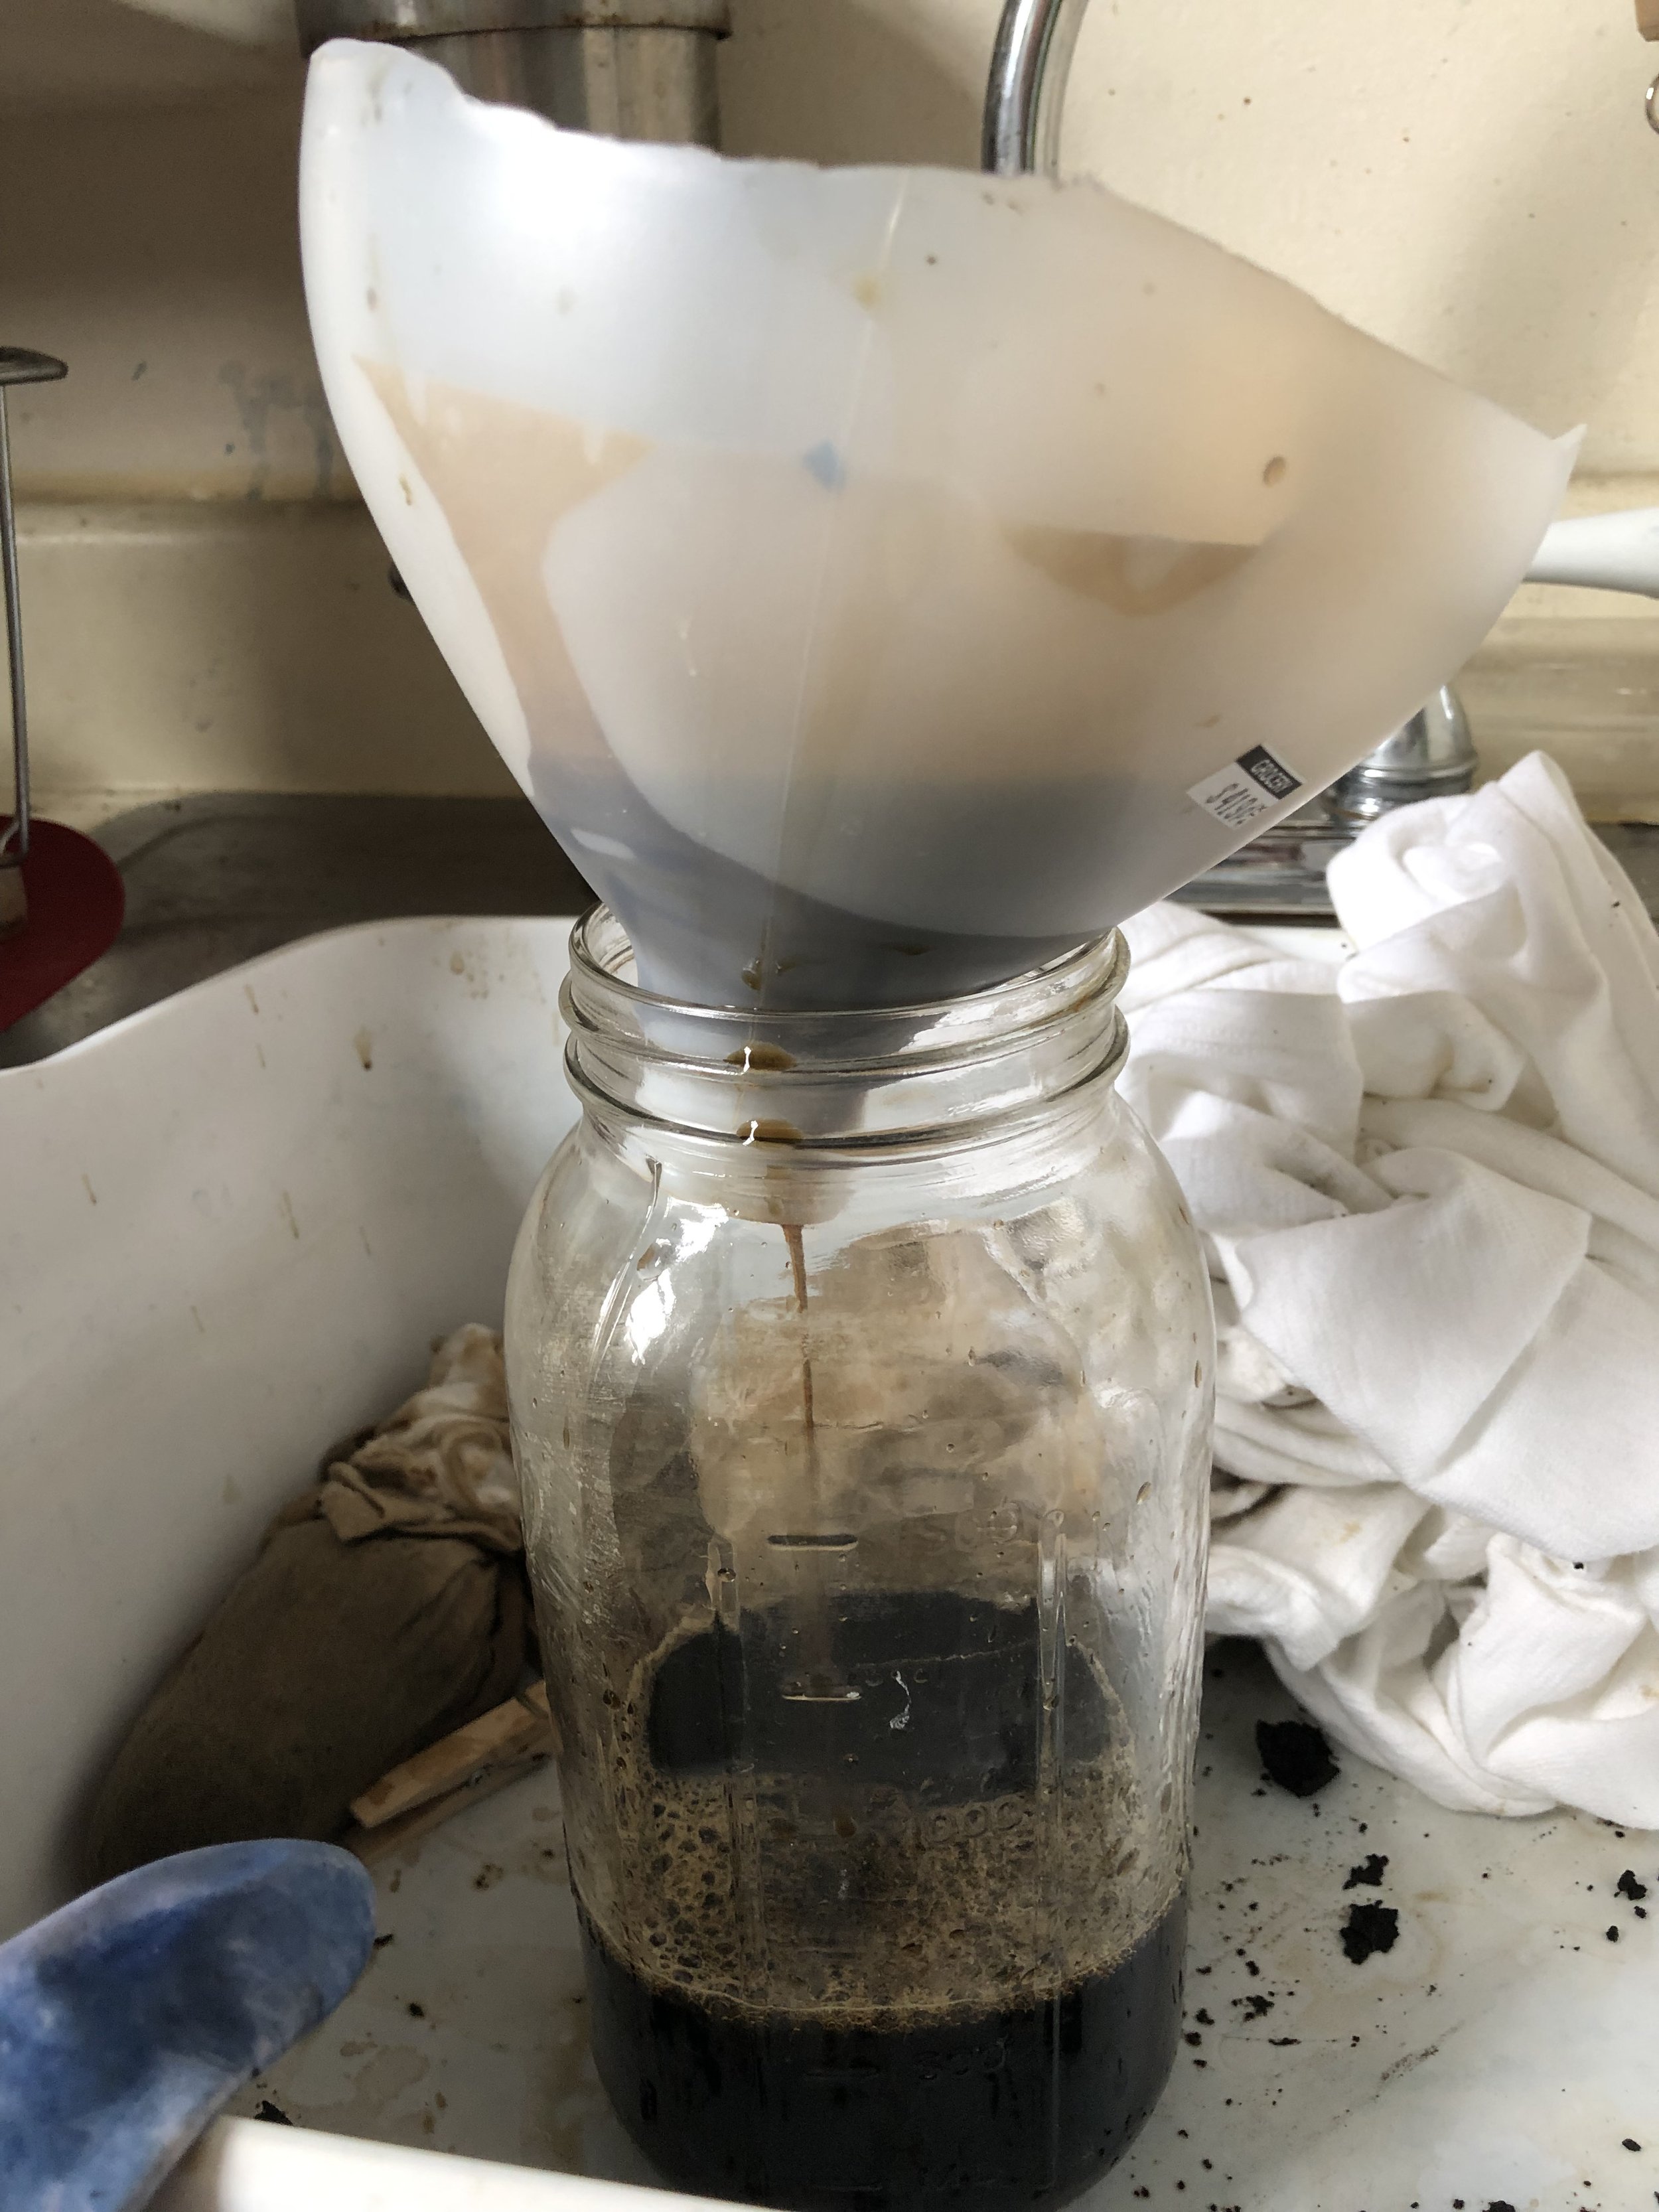
I’m straining here using a coffee filter. I think I strained this batch about 3 times, but you can strain more or less, depending on how gritty you do or don’t want the ink.
Test your ink to see if it lays well on paper. If it bleeds when using a dip pen, you may want to add a bit of gum arabic, which can be found at any art supply store. You can also make your own gum arabic, which I may post a recipe for at a later date.
Finishing the Ink
To hinder mold growth, you can add a few whole cloves to the jar, or add a few drops of clove oil. Cloves are a natural antimicrobial, and they smell nice. I prefer whole cloves because they're cleaner. When using clove oil, I find it tends to float on top of the ink making a slick when you write with it.
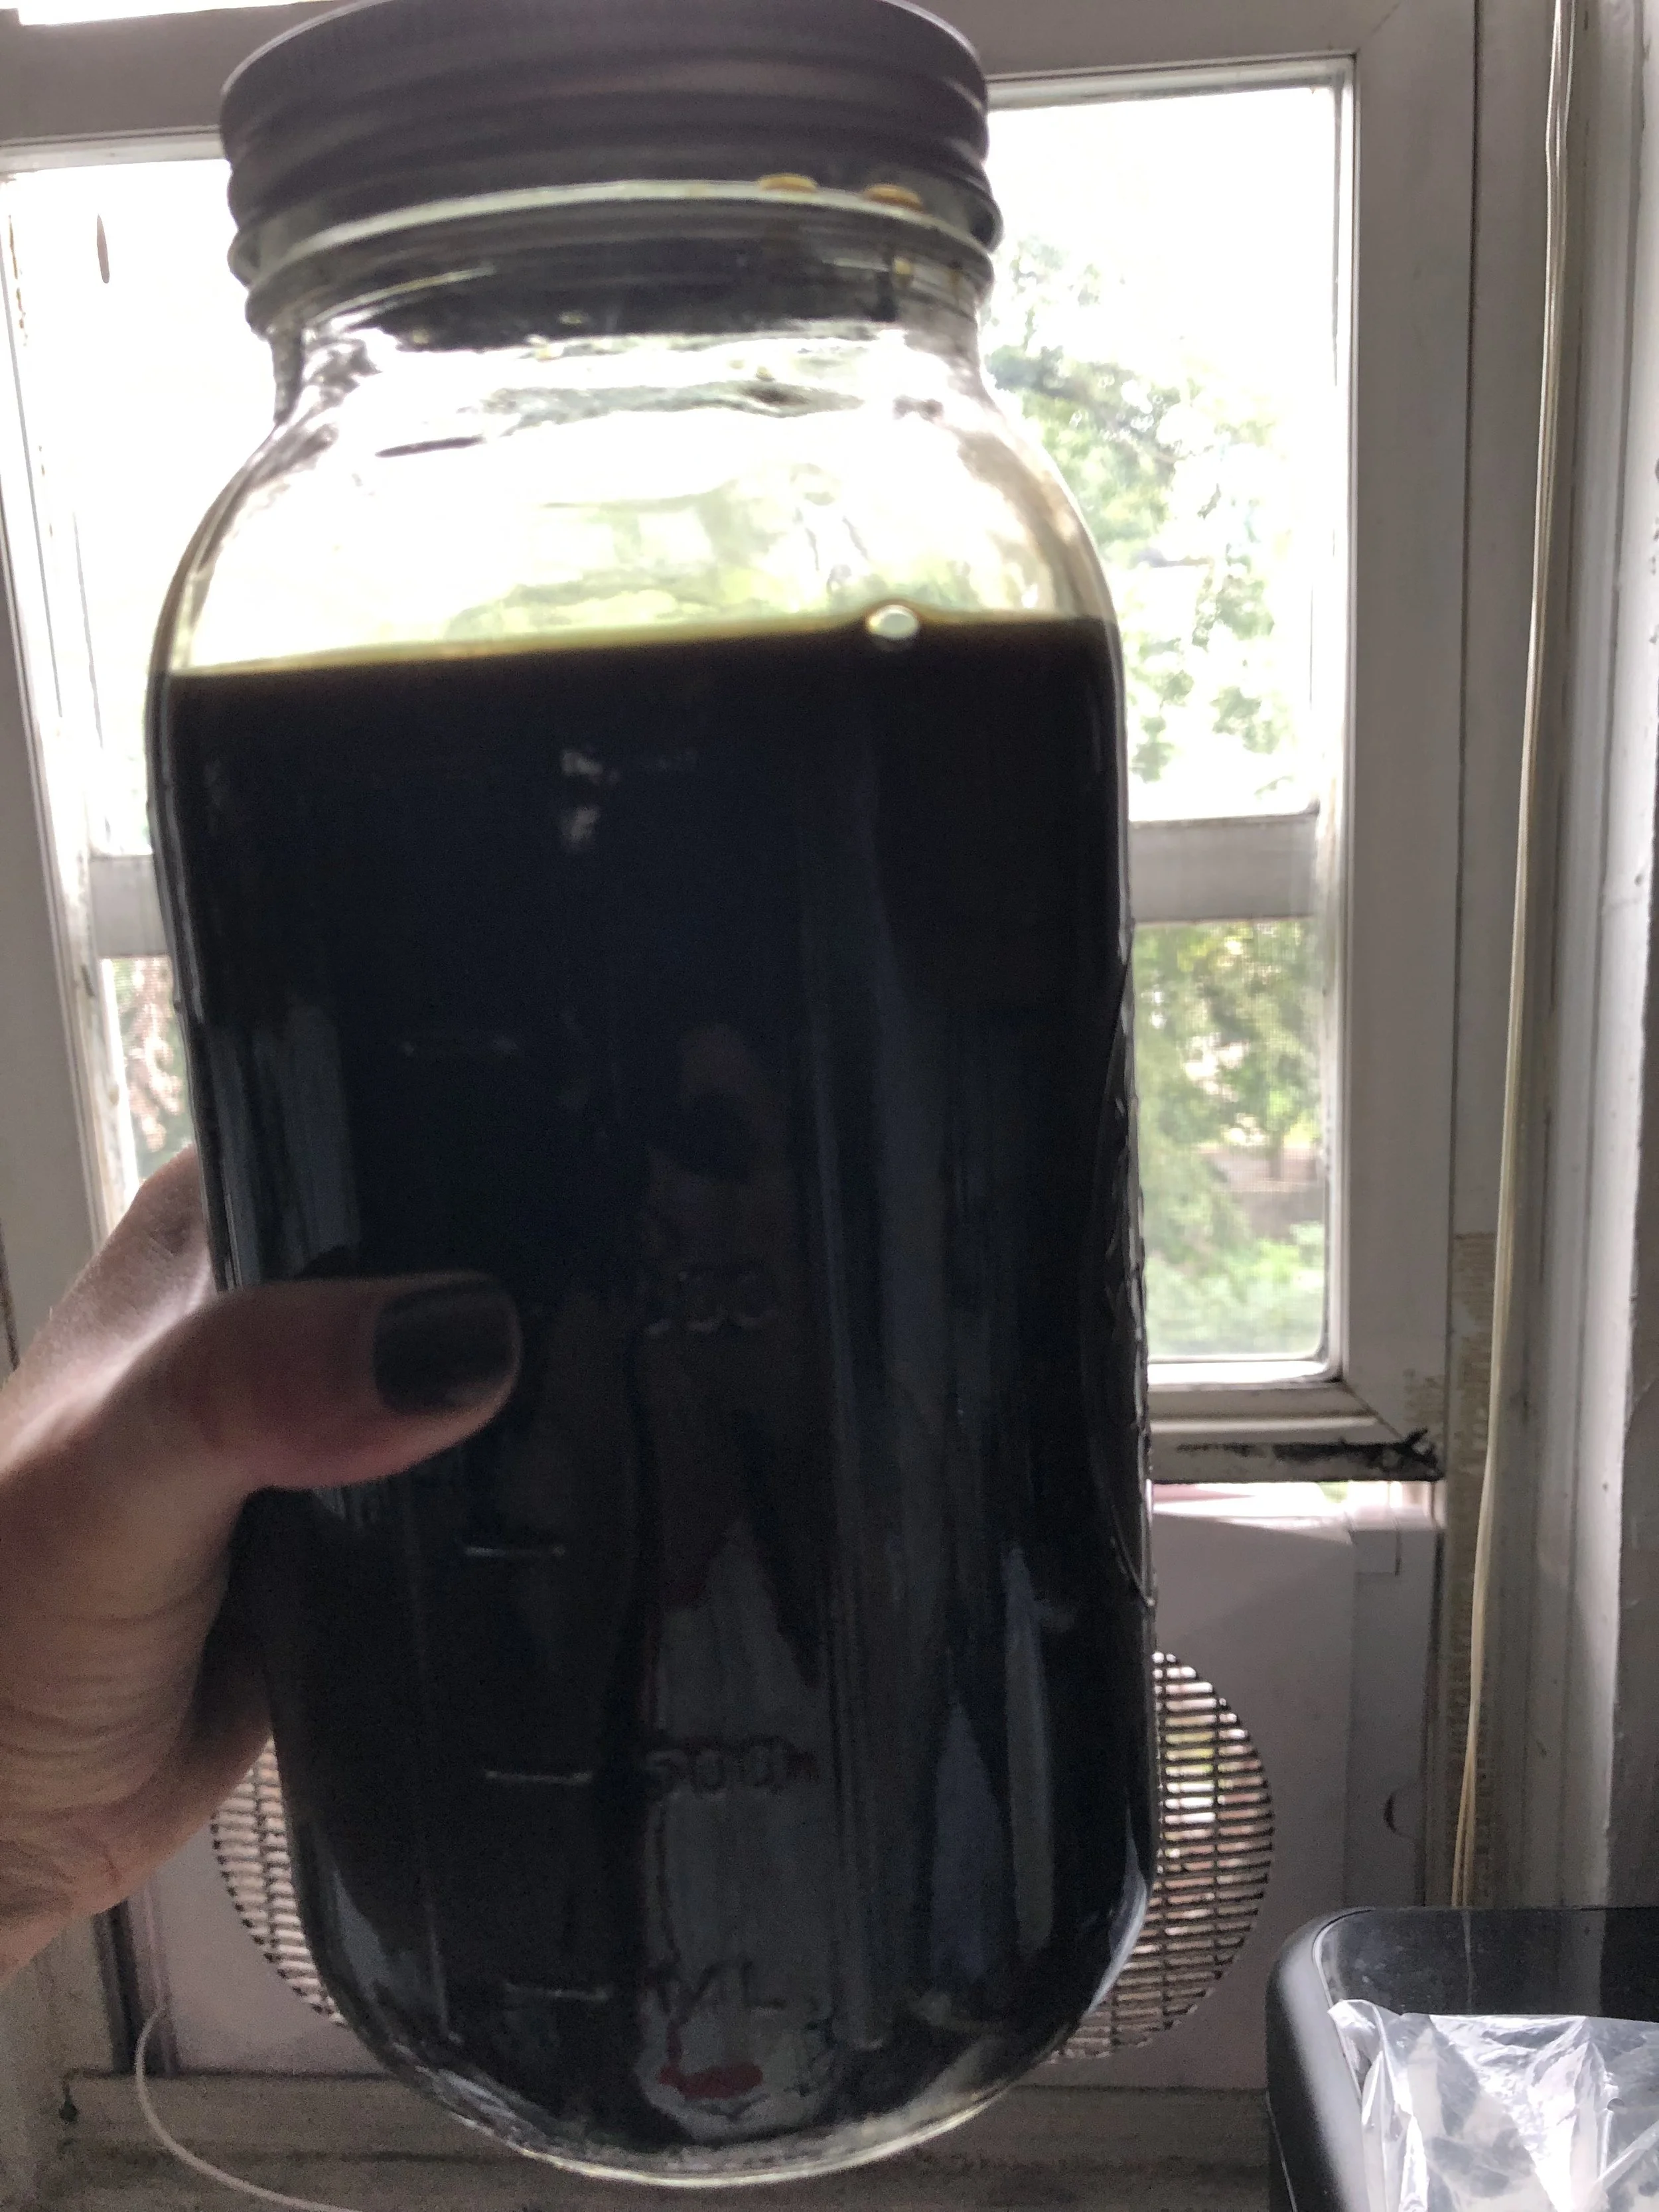
I have about 8 cloves in this jar. I keep a batch this large refrigerated but decant a small amount into a smaller 2oz Boston round with 1 clove in the jar to use in my studio.
Isopropyl alcohol can also be used to hinder mold growth. Add a ratio of about 10% of your ink yield worth of isopropyl alcohol. You may not want to use the alcohol if you intend to use the ink with another medium, like watercolor paints or inks that do not contain alcohol. The mix could cause unexpected results. It also may thin the ink a little requiring some gum arabic. On the upside, the alcohol causes the ink to dry faster, which is perfect for calligraphy.

Here I’m bottling 2oz Boston rounds. They each have 1 clove and I had treated the main batch with alcohol. They’re ready to sell or give as gifts. These also can come with glass dropper tops, which can come in handy.
Have fun experimenting with your black walnut ink!